My Process: How I Prepare & Write my Blog Posts
My Process: How I Prepare & Write my Blog Posts
My Process: How I Prepare & Write my Blog Posts
This post is all about how I prepare, write, and promote my blog posts – such as the one you’re reading right now. Ok, I’m going to dive straight into my process.
Ideas
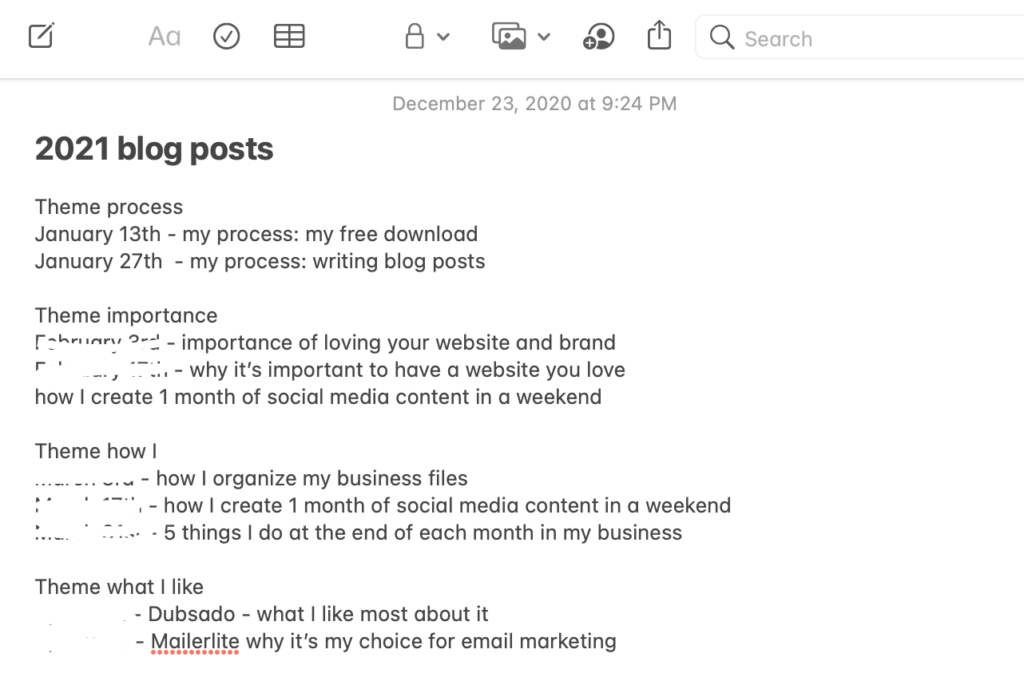
I have a rolling list of blog post ideas that I add to my notes app when ideas pop into my head. These ideas come from scrolling through Instagram and Facebook groups and reading comments and questions from others. This year I decided to be more thorough with my list and write out the dates. I will only be posting two blog posts each month so it will be easier.

Outlines
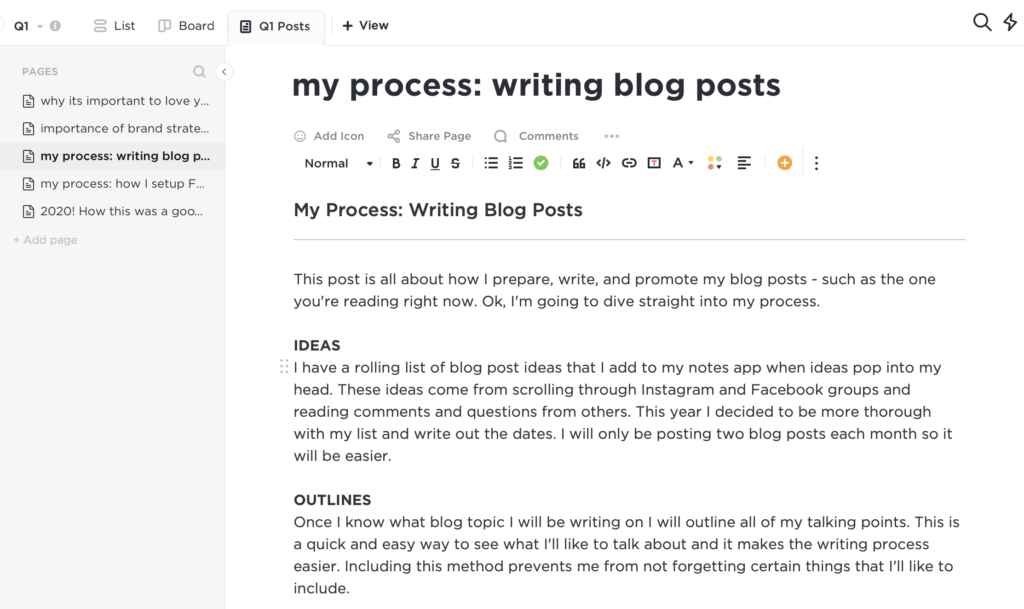
Once I know what blog topic I will be writing on I will outline all of my talking points. This is a quick and easy way to see what I’ll like to talk about and it makes the writing process easier. Including this method prevents me from not forgetting certain things that I’ll like to include.
Draft Writing
Within each outline, I will then start to write what comes to my head about each stage of the post. Similar to what I did when writing this blog post. Most of the time I do my outlines and draft writing at the same time. The draft process isn’t and won’t be perfect but it’s a work in progress and that’s what we like. I used to use Google Docs to write out my posts but as of recently I’ve been using ClickUp*. After typing out the draft I will read over to find any obvious errors and correct them one time.
Related Post: How I use ClickUp to simplify my online business

Grammarly Check
Once I’ve filled in all the outlines I will copy and paste my text section by section into Grammarly and work from there. I do it in stages so that I can focus on any grammar mistakes that may appear and correct them. Keep in mind Grammarly isn’t perfect, you’ll have to know how to work around those error messages.
Upload to WordPress
I will then transfer the corrected copy over to WordPress and adjust the layout for the post. Typically I have my main header which is the title of the blog post. If I have any images to include I will go ahead and add those. Finally, I add my sign off and the sign-up area to join my mailing list.
Search Engine Optimization
After the blog post is complete I will work on the SEO for that post. I use Rank Math and after completing the blog post I will write in the post keyword, title, and description. This is very important because this is how I get people to land on the blog post and also on my website. While using SEO I will also make sure to label the images I use within the post to include the keyword that I will be using.
Promote Blog Post
Once all is done I will create promotional graphics for the blog post. This usually includes graphics for Instagram and Twitter. I don’t promote blog posts as much on my Instagram account but it’s something I’m trying to change. On Twitter, I generally share blog posts as often as I can and that includes linking to older posts as well.
And there you have it…how I plan and write my blog posts. If you have further questions feel free to DM over on Instagram @hellonextbrand.
[lepopup id=’13’ name=’between the brand’]
Until next time…

